





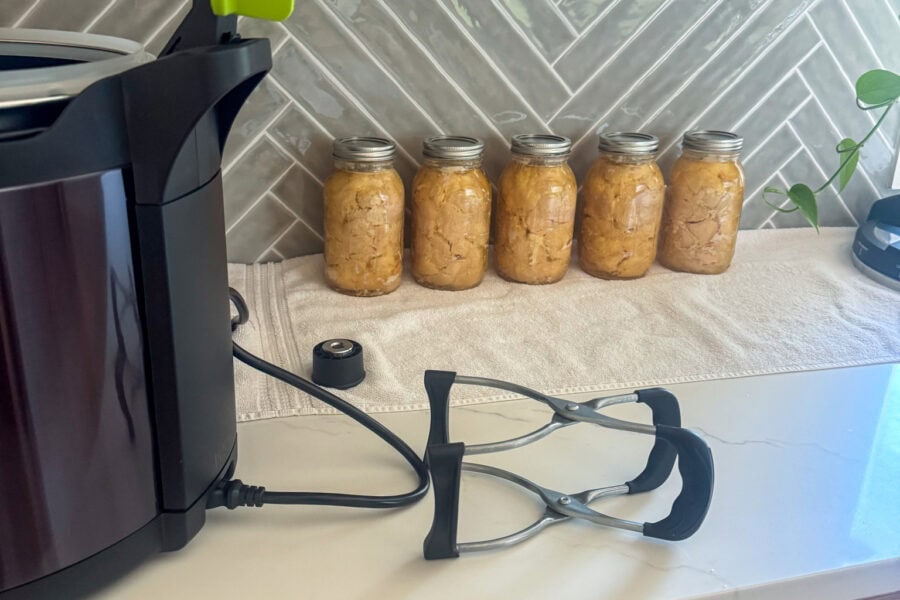
I’m thoroughly enjoying this “grandma hobbies” phase of life, and now that includes learning how to to pressure can raw chicken. Analog/grandma hobbies are so satisfying. I like doing things with my hands. I like producing or creating something helpful or pretty. And in regards to kitchen-specific grandma hobbies, I love when my new skills can actually make everyday life easier and help feed the fam.
Pressure canning chicken has absolutely fallen into that category for me. I have done this twice now and each time I have thought, Why did it take me so long to try this?
Having jars of fully cooked chicken sitting in the pantry is incredibly convenient. It’s not necessarily pretty, but helpful? Definitely. I can open one at lunchtime, mix up a quick chicken salad, and have an easy protein ready in minutes. No thawing chicken. No cooking chicken. No spending $7 on a 5oz can.
And chicken salad is just the beginning. You can use canned chicken for soups, quesadillas, tacos, wraps, casseroles, rice bowls, buffalo chicken dip, and chicken pot pie.
Today I am sharing exactly how I pressure can raw chicken using my Presto Precise Digital Pressure Canner. I’m sharing my experience along with all the specifications of the canning world to ensure the process it’s safe and effective. But, honestly, if you’re using this canner, the process becomes close to fool proof.
A Quick Canning Safety Note
Chicken is a low acid food, which means it must be pressure canned rather than processed in a boiling water bath. Pressure canning allows the food to reach the temperatures necessary to safely preserve low acid foods. (Home Food Preservation)
I follow the instructions for my specific Presto Precise Digital Pressure Canner and can’t vouch that it’s the same for all home electric canners, and while Instant Pots are pressure cookers, they are not the same as pressure canners so don’t get crazy and try to use it for that 😉
Why Raw Pack Chicken?
There are two approved ways to pressure can chicken, hot pack and raw pack. My friend taught me raw pack and it’s my go-to method.
For hot pack chicken, you partially cook the chicken first and add hot water or broth to the jars. But I’m not sure of the appeal of that method because raw packing is so much simpler.
Like it sounds, you put raw chicken directly into the jars and process it. You do not have to add water or broth and in fact the National Center for Home Preservation will instruct you not to because of possible liquid siphoning/overflow preventing sealing. During processing, the chicken cooks and releases its own natural juices so you will end up with some liquid in the jar even if you start with none.
However, as you’ll see below, I do add just a bit of water after firmly packing in the raw chicken. It’s how my friend taught me and I agree with her that I like a bit of liquid covering the chicken because of appearance and texture (meat sticking out of the liquid can become a little discolored and tough) and for flavor and longevity. If I was storing these for years, chicken fat sticking out of the water can go rancid faster.
Just like my Nannie’s pickle recipe, I’m sharing what works for me, but you obviously do what feels right to you.
I’m sure I’ve scared any pressure canning newbies off with that overloaded intro, but I feel like it’s worth talking through it all!
What You Need
- Presto Precise Digital Pressure Canner
- Pint or quart Mason jars (I use the dishwasher’s “sanitize” cycle before canning)
- New canning lids
- Screw bands
- Jar lifter
- Fresh boneless chicken, about 1.5 lbs per quart or 1 lb per pint, but I recommend also overestimating just a bit, so round up by about .5-1 lb just to be sure you don’t run out
- Canning or pickling salt, optional (I also have used pure Kosher and it was fine; just nothing with additives or anti-caking agents)
- Air bubble releaser
- Clean cloth and vinegar for wiping jar rims
How to Pressure Can Raw Chicken Step by Step
1. Prepare the Chicken
Start with fresh, good quality chicken. The best time to can is when you can get a good deal on price!
Trim away excess fat and cut the chicken into chunks that will fit easily inside your jars. My chunks are 1-2 inches.
I typically use boneless chicken breasts, though boneless thighs can also be canned.
Keep the chicken cold while you prepare everything else and work fairly quickly once you begin filling the jars. Presto recommends keeping meat and poultry as cool as possible during preparation and processing it promptly once packed.
2. Prepare the Canner
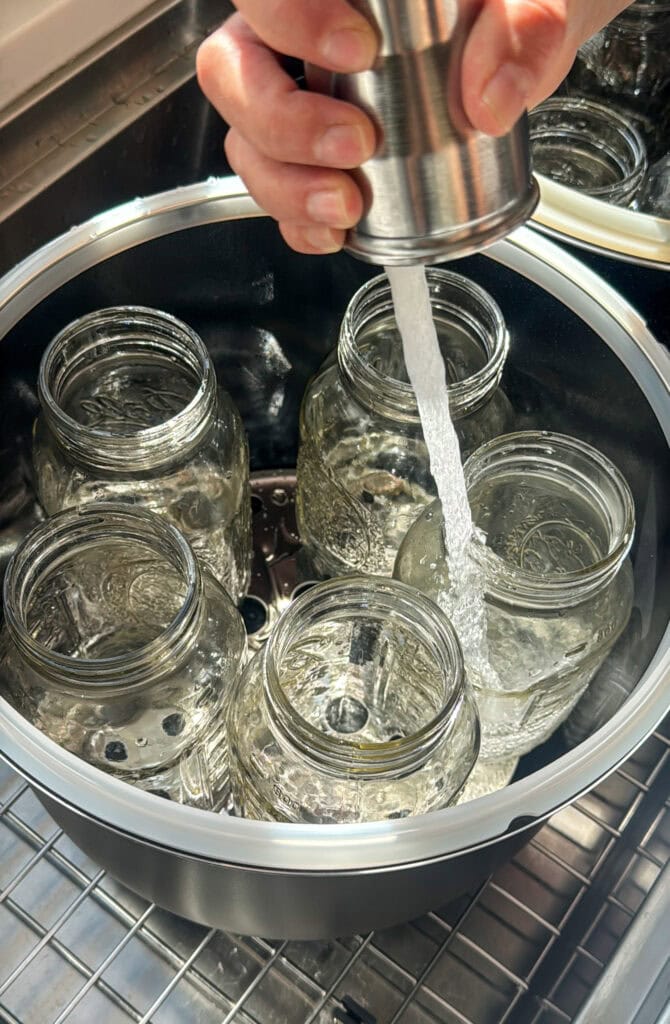
Place the removable pot inside the Presto Precise Digital Pressure Canner and put the canning rack in the bottom.
Pour 3 quarts of water into the canner, up to the fill line located on the interior of the inner pot.
Turn the canner on and select PRESSURE CAN.
Set your processing time based on the jar size you are using.
For boneless chicken:
- Pint jars process for 75 minutes.
- Quart jars process for 90 minutes.
Those processing times are specified by both Presto and the National Center for Home Food Preservation.
One feature that’s pretty cool about the Presto Precise Digital Pressure Canner is that pressure canning does not require a manual altitude adjustment. The appliance manages the required temperature during the process. Presto specifically states that altitude adjustment is not necessary when pressure canning with this model.
Also pretty neat? No need to understand the “pounds of pressure” that a stovetop pressure canner requires. The Presto electric canner holds the temperature steady on it’s own.
.
3. Warm the Jars
It’s so easy; you simply follow the prompts on the Presto display to warm your jars.
For my model, I fill the jars halfway with water, place them on the rack, remove the regulator, secure the lid, and let the machine run its jar warming cycle.
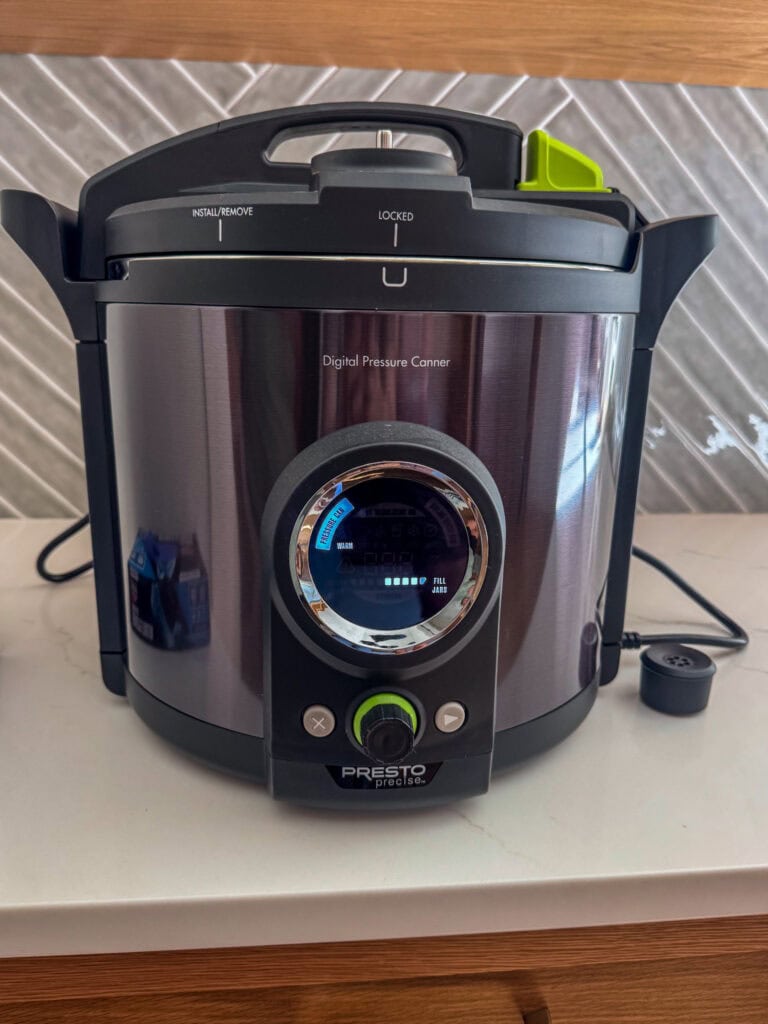
The canner walks you through the process, which is probably one of my favorite things about using the electric model.
Once the jars are warmed, the machine will beep and display FILL JARS.

.
4. Fill the Jars With Salt (Optional) and Raw Chicken
Remove one hot jar at a time (using your jar lifter because they will be HOT) and pour out the water.
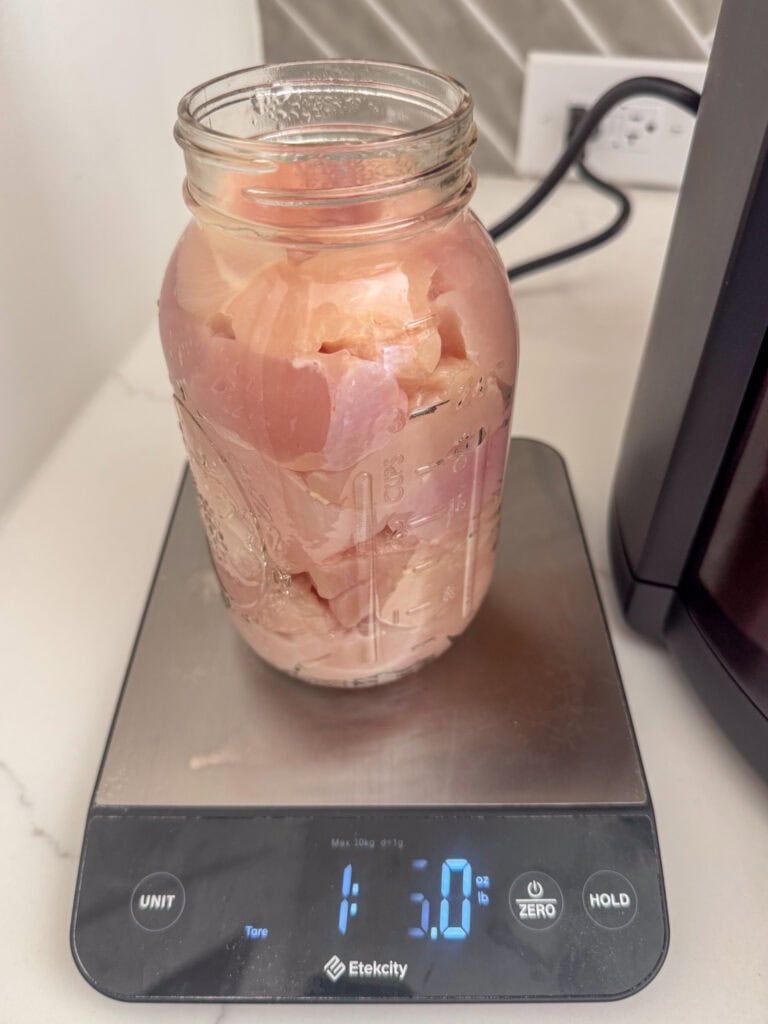
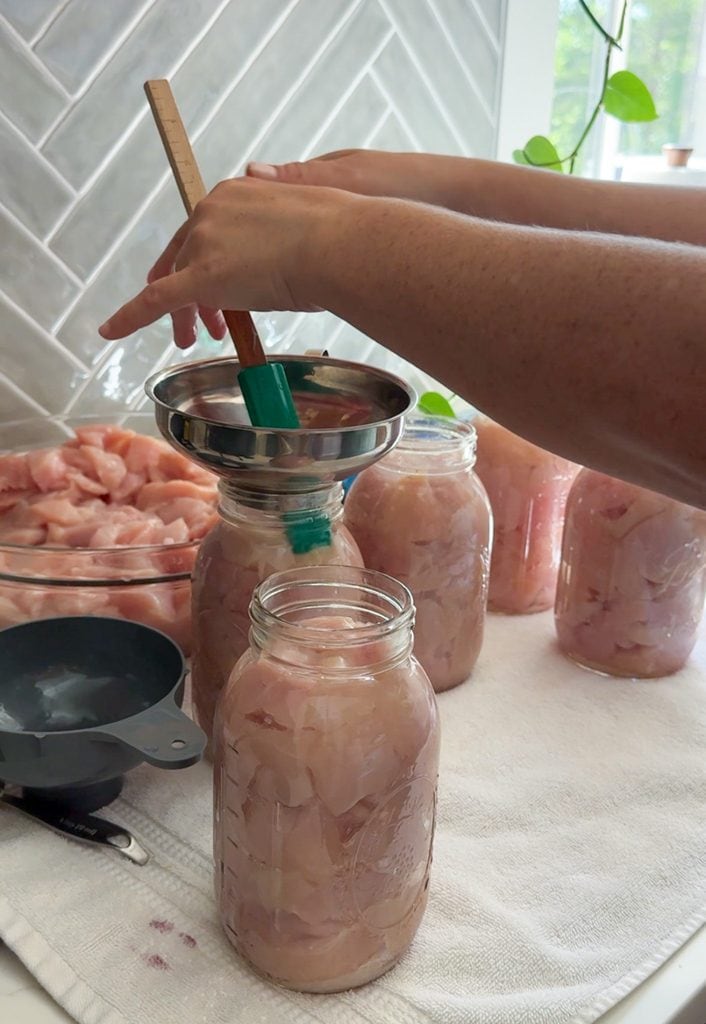
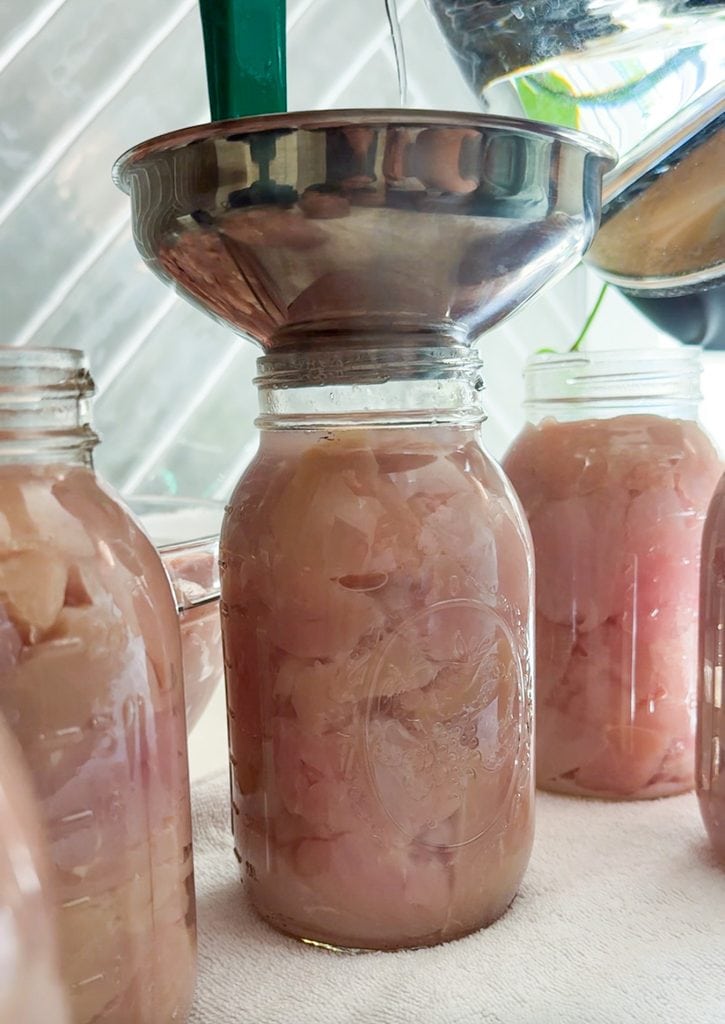
Add 1/2 tsp of salt to each pint jar or 1 tsp of salt to each quart jar. Then pack the raw chicken chunks into the jar. You do not have to cram the chicken into the jar, but I do press down firmly on it to fill in the space.
*This is where my directions will differ from Home Food Preservation’s*
Add water into the jar until the water level is just below the base of the neck, about a 1″ headspace. Use the bubble releaser to poke down and release any air bubbles. Adjust water as needed to get to the right headspace.
.
5. Wipe the Jar Rims and Add the Lids
Carefully wipe the rim of each jar with a clean cloth dipped in white vinegar.
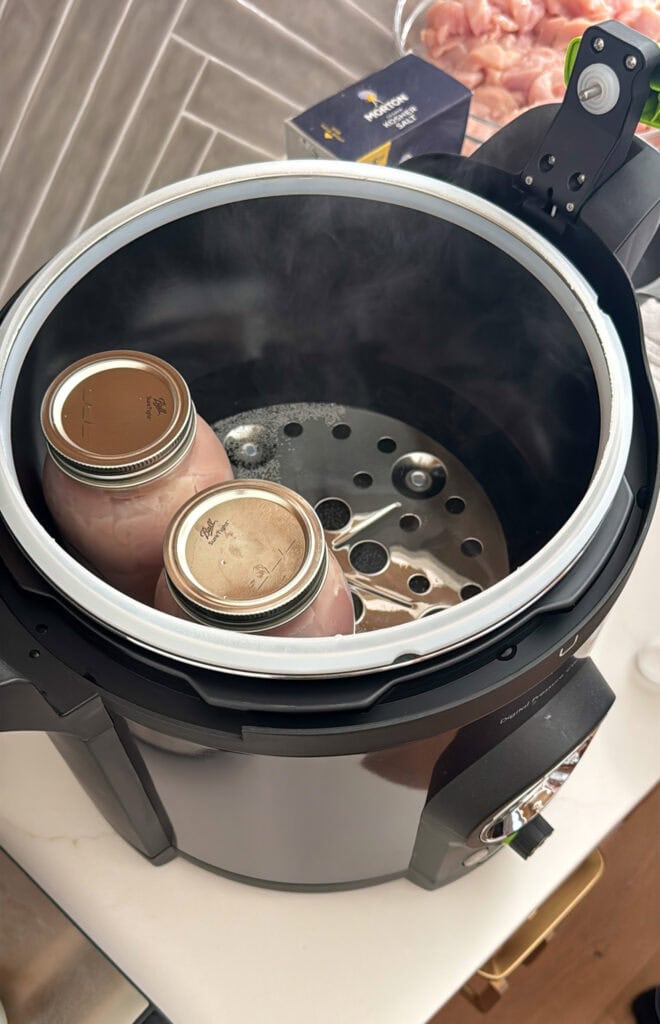
Place a new flat lid on top and add the screw band. Tighten the band until it is fingertip tight. You want it secure, but you do not want to crank it down as tightly as possible.
Place the jar back into the canner and continue until all your jars are filled.
.
6. Let the Presto Canner Do Its Thing
Put the lid back onto the canner, hit enter, and follow the prompts on the display.
The Presto goes through a venting phase before telling you when to put the regulator on.
Once the venting process is complete, the display will tell you to PUT REGULATOR ON. Place the regulator onto the vent pipe and hit enter.
The canner will continue heating until it reaches the required canning temperature. Only then does your actual processing time begin counting down (again, 75 minutes for pints and 90 for quarts).
Do Not Rush the Cooling Process
Once the processing time is complete, the machine enters its cooling phase.
This part takes a while, but it doesn’t require anything from you, as you just leave it alone.
Do not try to speed things along by releasing the pressure, opening the canner, or otherwise cooling it faster. The cooling period is part of the overall safe canning process. The good news is that you don’t have to be there sitting and waiting for it to be ready. They cans can just sit tight until you return to get them out once they’re done cooling.
My Presto displays DONE when the process is complete. At this point, the air vent and cover lock should be released or dropped and you can open the canner.
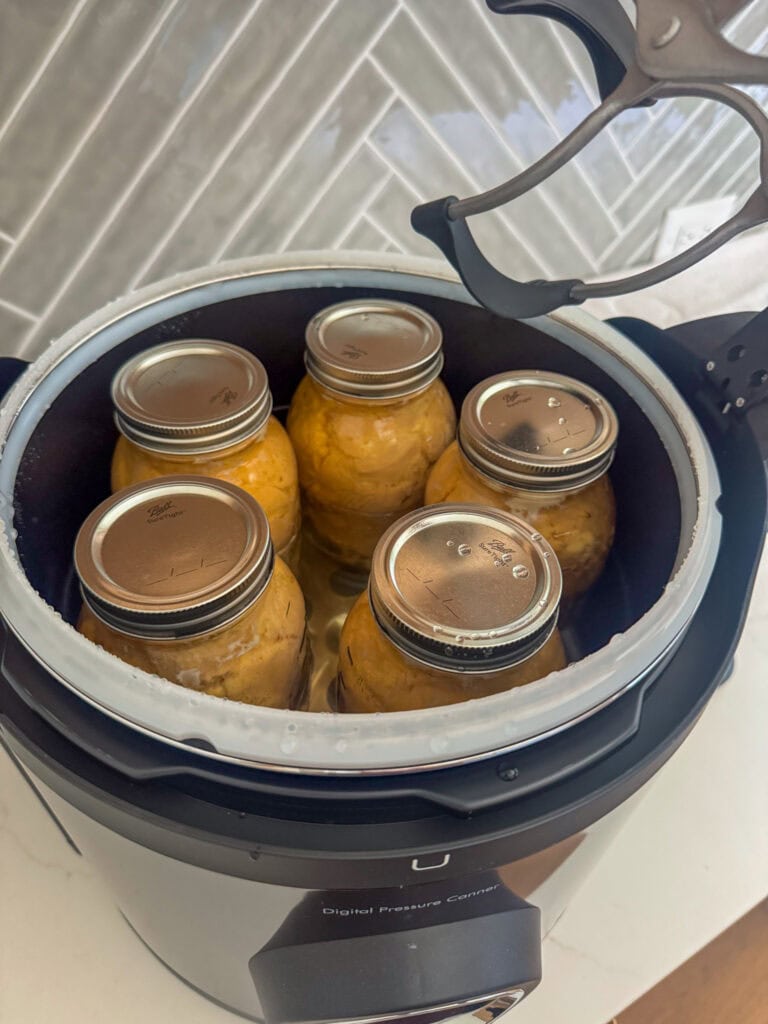
Carefully remove the jars with the jar lifter and place them upright on a towel or board.
And now comes the satisfying part. The little ping of jars sealing! Sometimes I will hear this sound even before I get to lift them out of the canner.

.
Let the Jars Sit for 12 to 24 Hours
Do not tighten the bands after removing the jars from the canner. Just let the jars cool naturally and undisturbed.
Presto instructs to check the seals after the jars have cooled for at least 12 hours and within 24 hours. Once they are completely cool, remove the screw bands and check each seal.
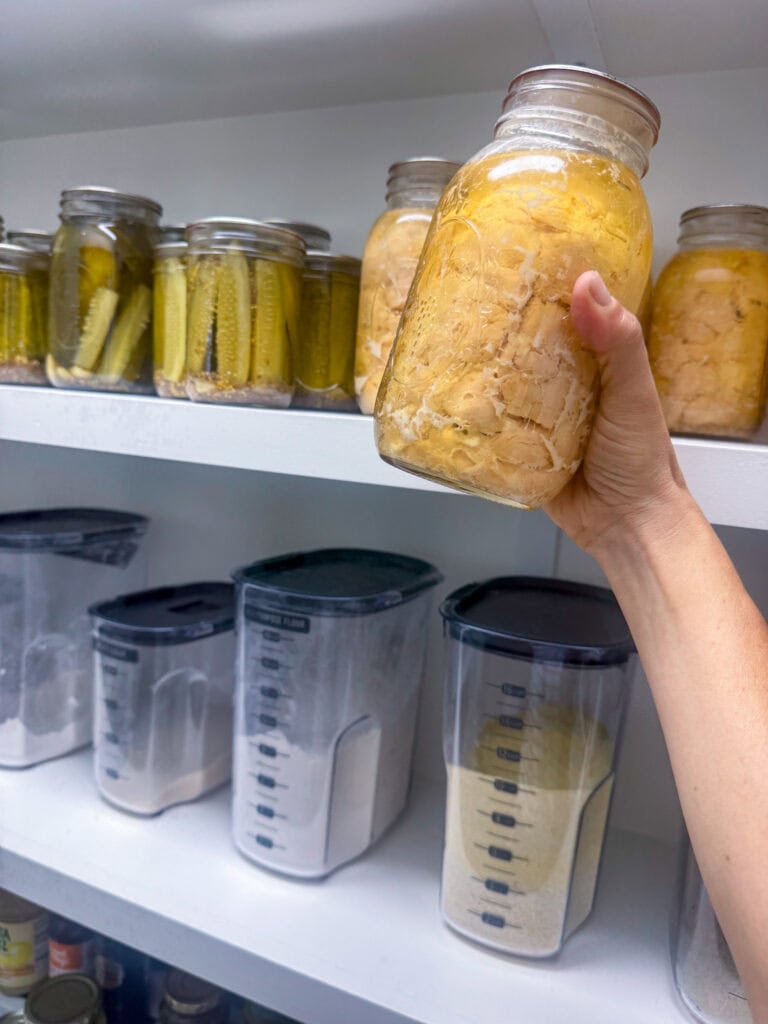
A properly sealed lid should be slightly concave and should not move up and down when you press the center. I sometimes rinse and dry my filled jars then I label them with the contents and the date before putting them into the pantry.
.
How Long Does Home Canned Chicken Last?
The National Center for Home Food Preservation recommends storing home canned foods in a clean, cool, dark, dry location. For best quality, they recommend using home canned foods within 12-18 months, but word on the street is that when properly sealed it has the ability to last a lot longer, like years (but again, you do you).
What Does Canned Chicken Taste Like?
…because it’s not like it looks really pretty or anything. 😉
The texture is tender and easily shreddable, similar to chicken that has been slowly cooked. But if you’ve tried store-bought canned chicken before, it’s the same!
You’ll see liquid in the jar (even if you didn’t add water), which is totally normal. I usually drain the chicken depending on what I am making, but that liquid has plenty of chicken flavor and can be incorporated into soups or other recipes when it makes sense.
My Favorite Ways to Use Home Canned Chicken
Chicken Salad
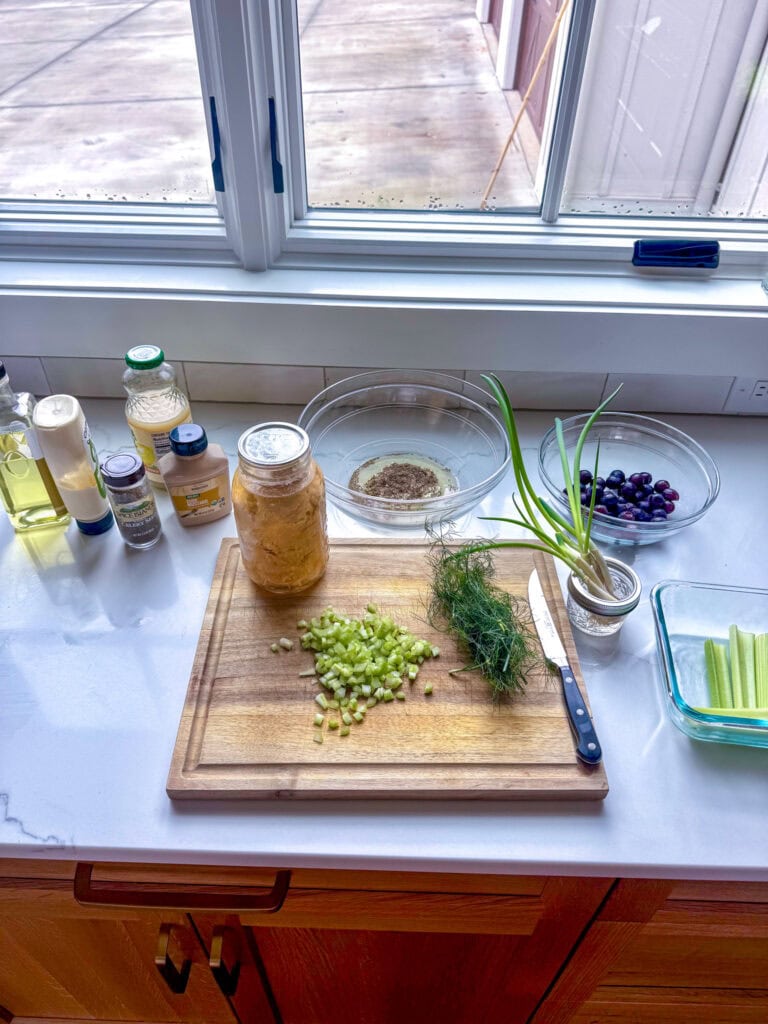
This is probably my number one use. Drain a jar of chicken, add mayo or Greek yogurt, Dijon mustard, celery, salt, pepper, grapes, and whatever else sounds good. Lunch in about three minutes.
Quesadillas
Add the chicken to a tortilla with cheese and whatever extras you have around.
Quick Chicken Tacos
Warm the chicken with taco seasoning or salsa and pile it into tortillas.
Soup
Add a jar to chicken noodle soup, vegetable soup, white chicken chili, or almost any soup that could use extra protein.
Buffalo Chicken Dip
A game day fav!
Chicken Pot Pie
Canned chicken makes this one significantly faster I’ve been told. It’s on my list to try.
Rice or Grain Bowls
Add chicken to rice, quinoa, roasted vegetables, greens, avocado, and your favorite sauce.
Casseroles
It works well for any recipe that starts with the words “add cooked chicken.”
Is Pressure Canning Chicken Worth It?
I think so! There is an initial time and equipment investment, but most of that time is hands off while the canner works. The cost saving for me is sincere, too, at about 1/3 of the price per ounce of store-bought organic canned chicken.
At the end of the process I have multiple jars of cooked protein sitting in my pantry that do not take up freezer space and do not require any planning before I use them.
I appreciate a little food preparedness. Not necessarily preparing for some dramatic emergency, but preparing for Wednesday at 12:30 when we are all hungry and I realize I have absolutely no idea what to make for lunch…
Open a jar. Make some chicken salad. And it’s done.
Worth. It.


Leave a Comment